10 year anniversary of my build I never published... so let publish it now haha..
I still have the setup, but upgraded GPU several times during those 10 years.. currently rocking RTX 3090 and also added additional enclosure on top of the case and moved all the radiators there.
======
In May-June 2013 I have built myself a brand new computer since my old Dell XPS M1730 was over 5 and half years old and that was about the right time to get myself a brand new system. This time I decided to go with a deskop and I was curious about those fancy watercooling systems and if I could possibly build one of those myself...
As far as the specs of my new pc goes I wanted to go with the top of the range.. or close to the best of what you can buy today without going bankrupt :)
 |
| The whole finished system minus the front doors. |
 |
| Back of the case with 8 drives in total and custom made bracket holding the extra drives :) |
 |
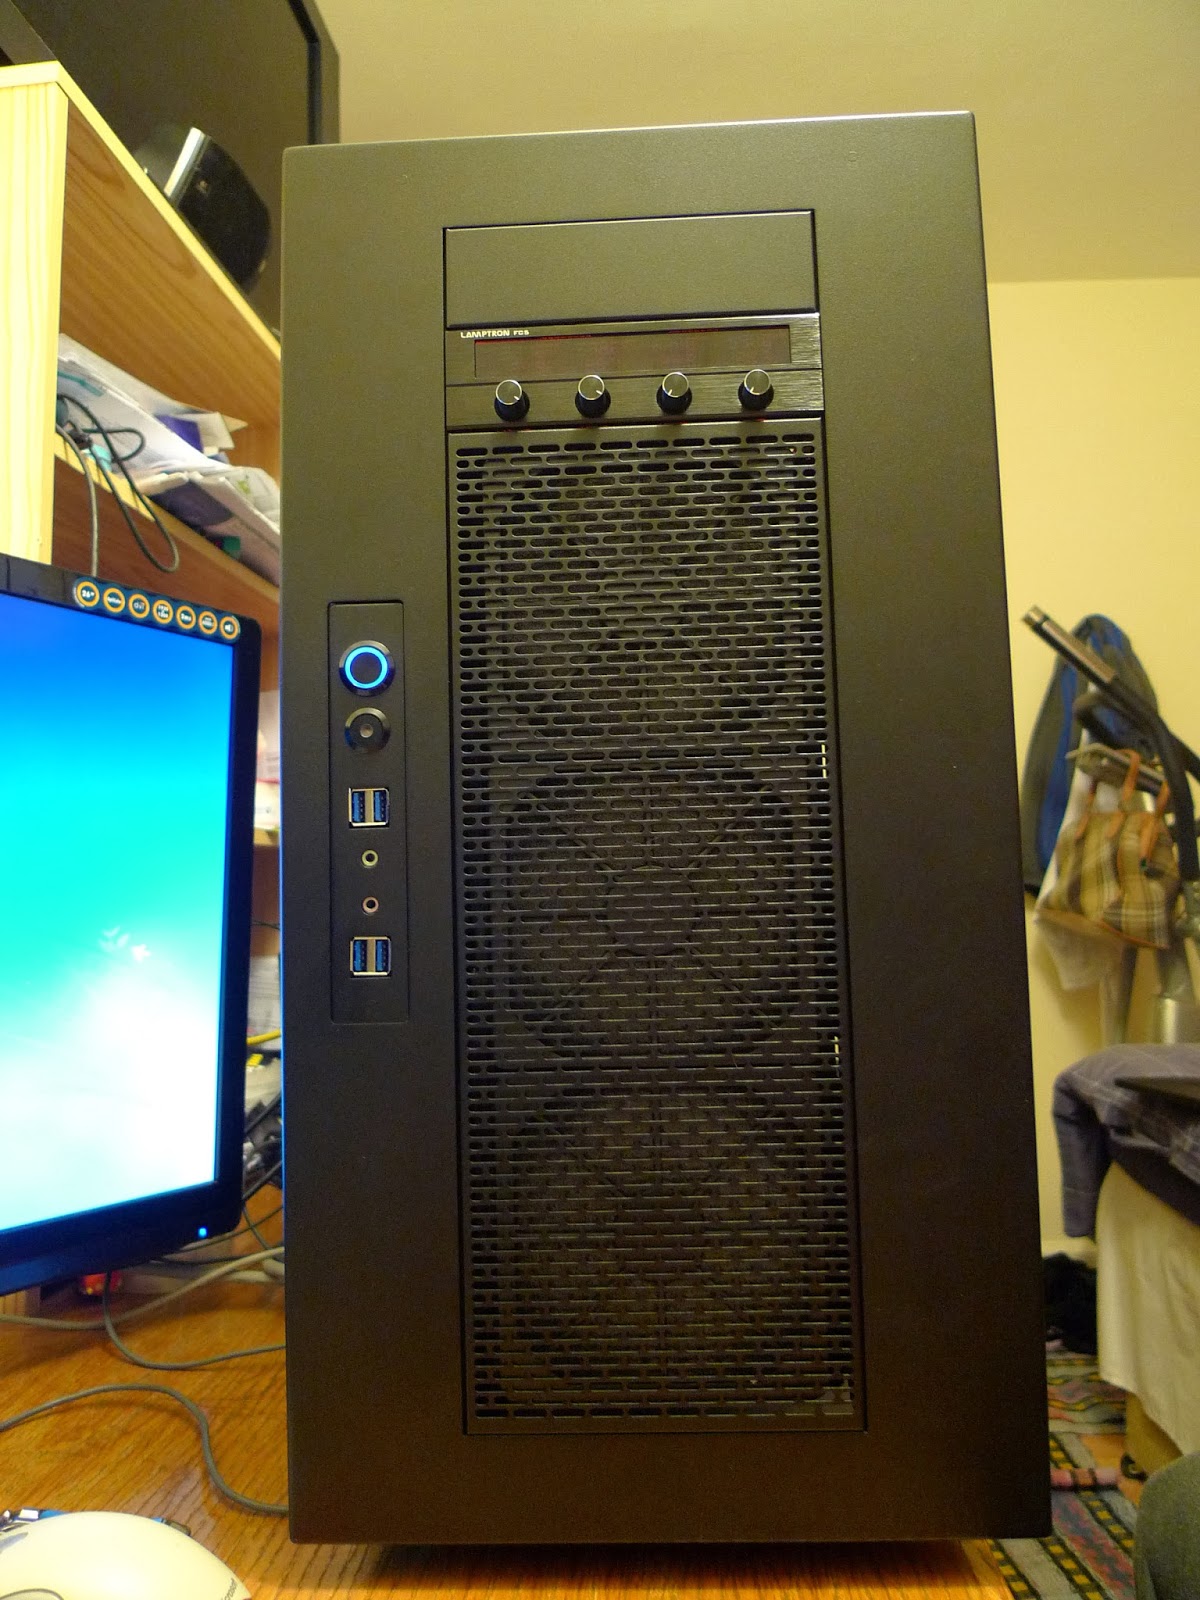
| Front of the Merlin SM8 from Case Labs. Lovely case, worth all the extra £s I had to pay for shipping and taxes! |
 |
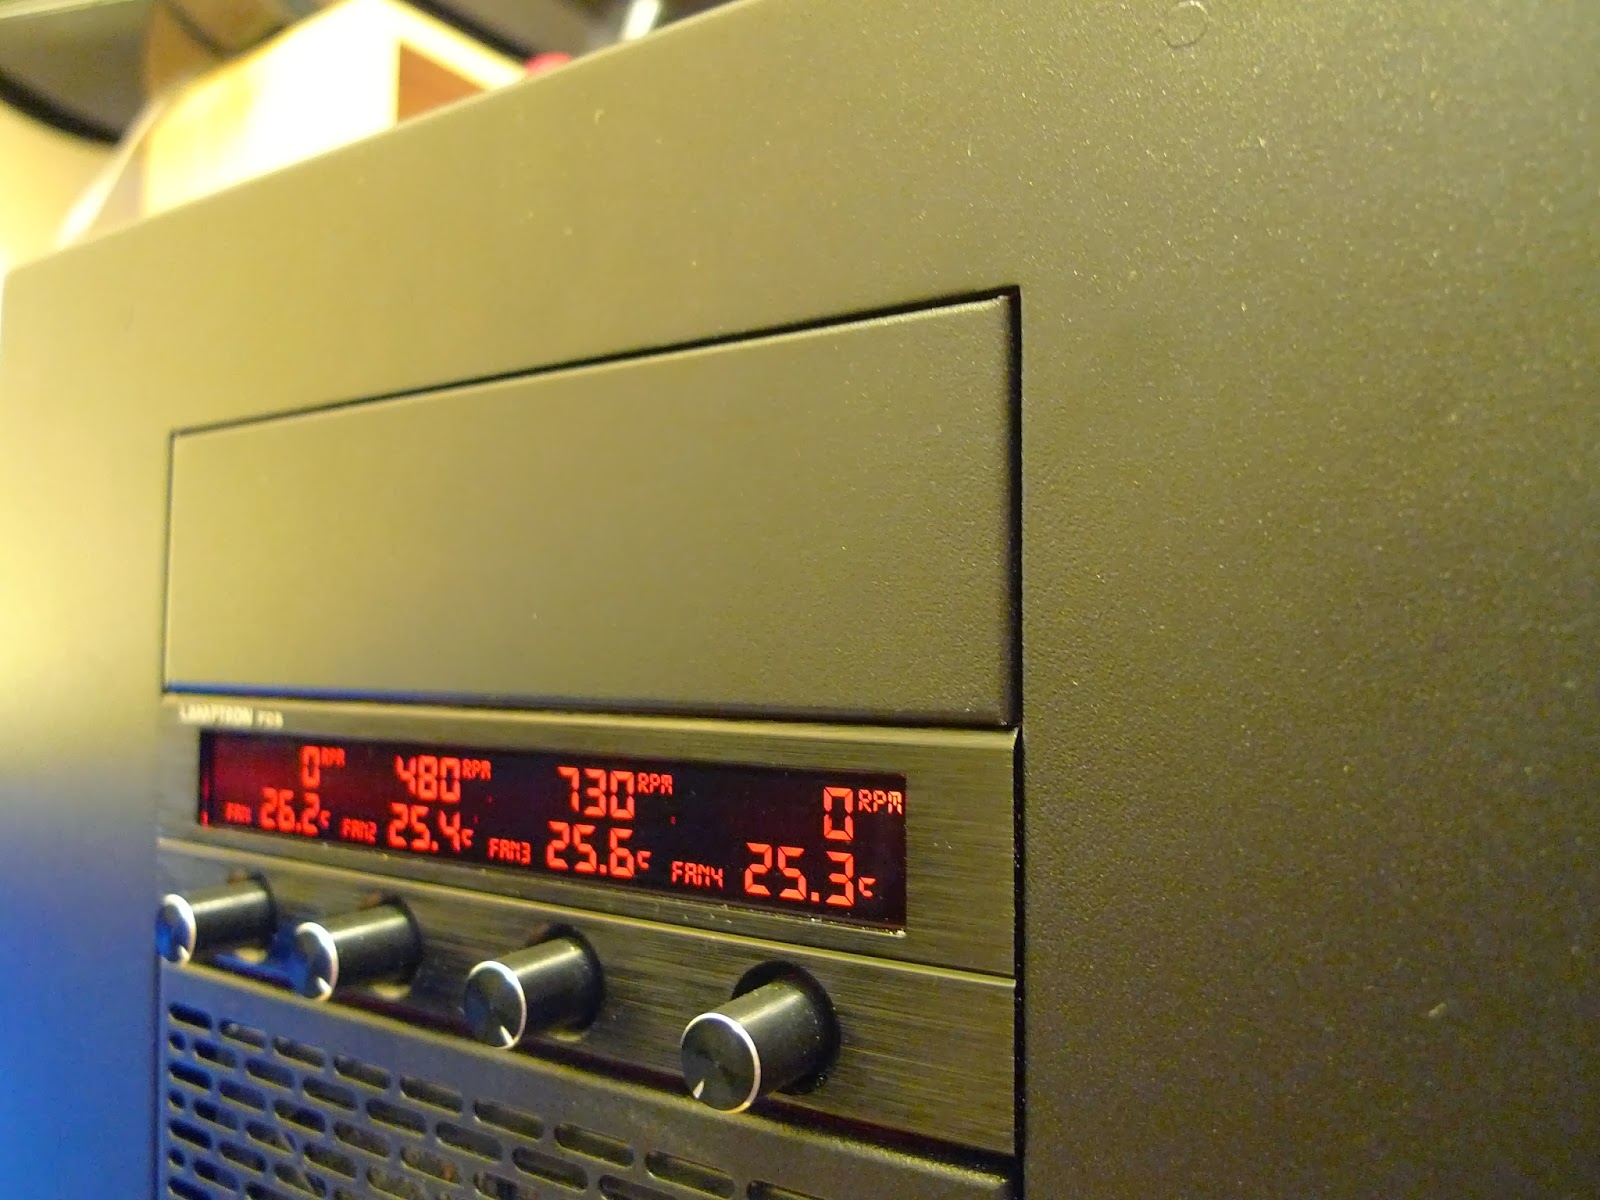
| Lamptron FC5 fan controler. |
 |
| Most of the 'big' parts.. not all of them as I was ordering things as I needed them. |
 |
| Some of the fittings... |
 |
| Second Samsung 840 series SSD and 2x 4TB Seagate Desktop HDDs plus some leds and red Monsoon fitting |
Specs:
CPU: Intel Core i7 3970X
Motherboard: Asus RAMPAGE IV EXTREME Intel X79 Socket 2011
GFX: EVGA GeForge GTX Titan Hydro Copper
Memory: Crucial 32GB DDR3 1600MHz Ballistix Tactical LP Kit (CL8 @1.35V)
Case: Caselabs Merlin SM8
PSU: 1200W Corsair Digital AX1200i Full Modular
SSD: 2x 500GB Samsung 840
HHD: 2x 4TB Seagate Desktop
+ other older SSDs and HDDs from previous system
Watercooling blocks:
XSPC Razor Asus Rampage IV X79 Motherboard Waterblock Set
XSPC RayStorm CPU WaterBlock (Intel)
Other watercooling parts:
Pump: XSPC Laing D5 PWM Pump Single Edition
Pump cover mod: Bitspower D5 Mod Kit
Pump top: Bitspower D5/MCP655 Mod Pump Top V2 POM BP-D5TOPP2-BK
Reservoir: Bitspower Z-Multi 250mm Water Tank
Tubes: Tygon R3603 1/2" ID - 3/4" OD (13-19mm) Tubing : Clear
Fittings: various Bitspower, Koolance, EK, Monsoon fittings and adapters
Coolant: 5 Ltr Ultra Pure H20
Radiators: Alphacool NexXxoS UT60 Full Copper 480mm Quad Radiator
Phobya G-Changer V2 360mm Triple Radiator : G-Changer 360 V2 Full Copper
Fans: 15x Noiseblocker Multiframe S-Series M12-S1 Fan - 120mm
Fan controler: Lamptron FC5 v2 black
lots of other stuff like led lights, cable sleeving, temp sensors, thermal compounds and various other bits and bobs.
 |
| Ok, lets start with the caselabs merlin SM8 case.. since it arrived flat packed I had to put it togerther... |
 |
| I was pretty easy.. I only made one mistake a flipped the central part where the motherboard goes.. heh, but realized and fixed that quickly. |
 |
| I went with the upsidedown setup for the motherboard since this was the best option for where the computer will be on my desk. |
 |
| With the powersuply installed. |
 |
| Final assembled case. |
 |
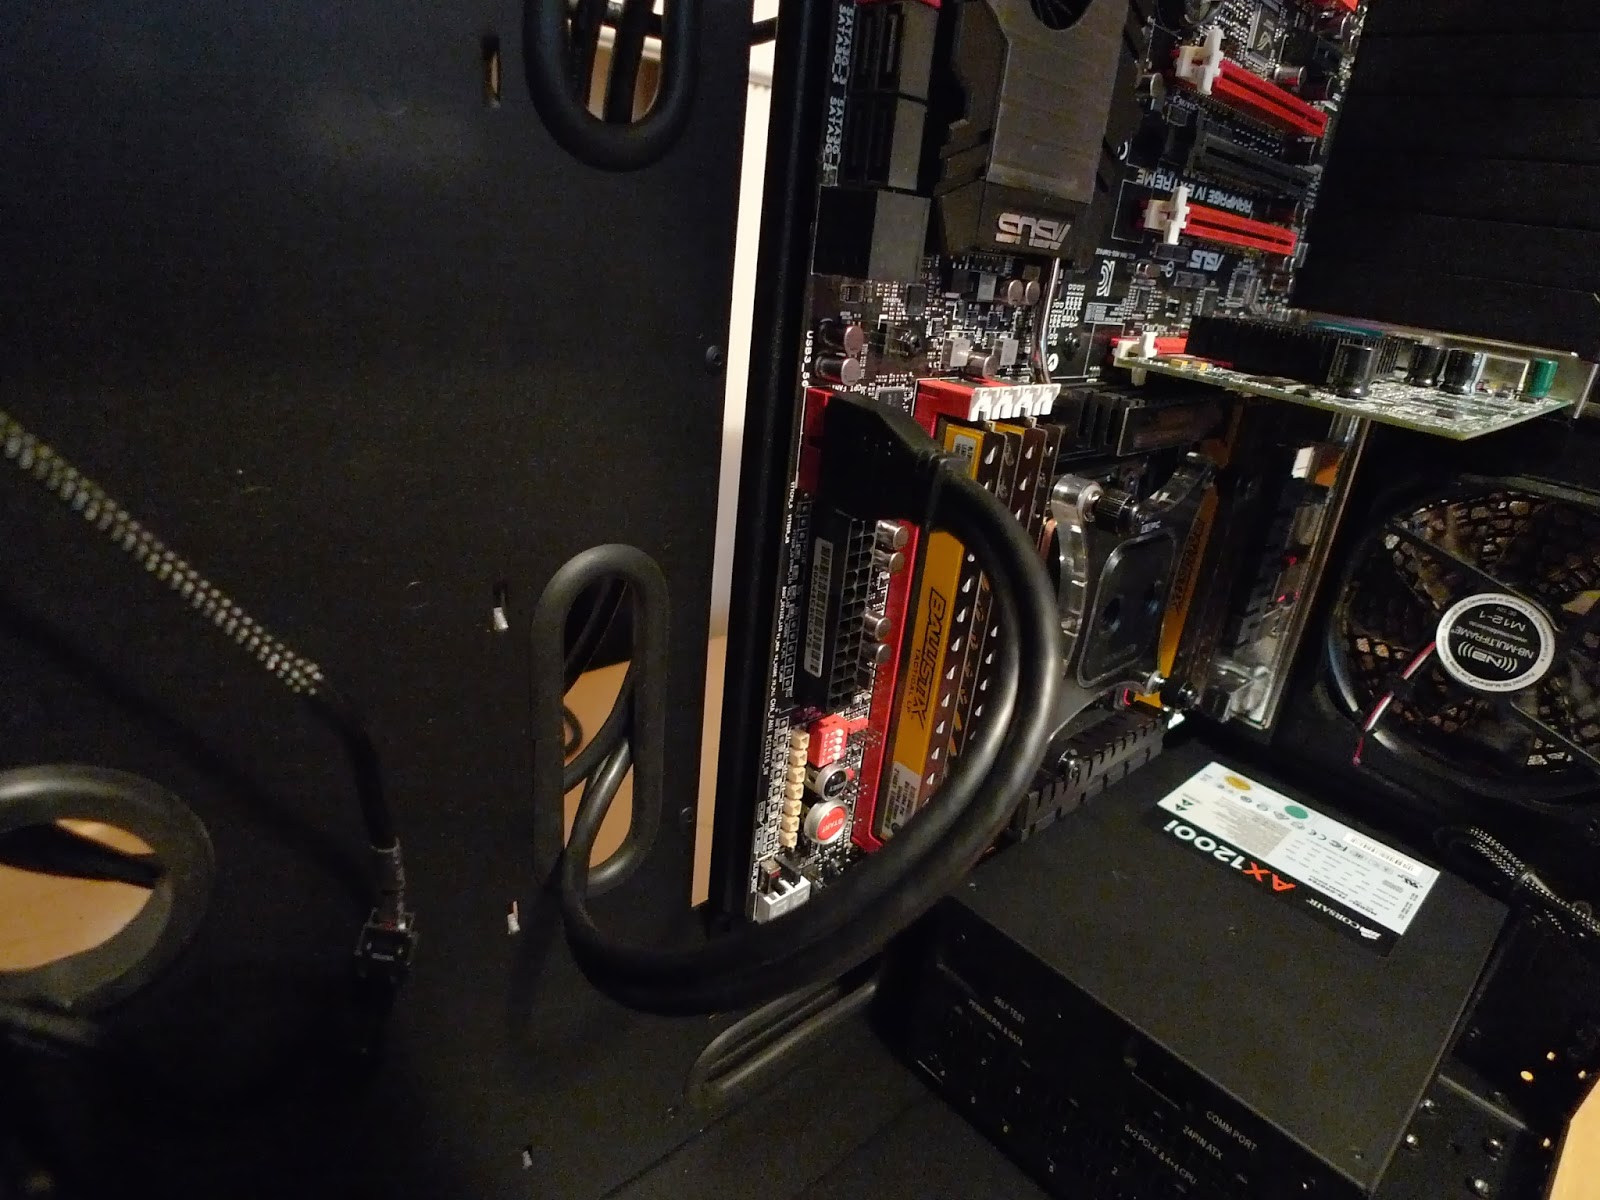
| Rampage IV Extreme mobo on the caselabs removable tray. |
 |
| Installed memory and put the cpu in place. |
 |
| i7-3970x inside the socket |
 |
| applying the thermal compound |
 |
| Installation of the XSPC Raystorm CPU Waterblock. |
 |
| All in place with the temporary graphics card as I had a huge problem with getting my hydro copper titan at the time (was sold out eeeverywheeere) |
 |
| Installed one of the dust filters at the back as the test but I was very happy how it looked so I decided to go with this setup! |
 |
| Installing more of the dust filters on the front radiators. It was all the trials and errors here... as I had no idea how I am going to dust proof the radiators and the whole system. |
 |
| Here I hit the problem with the middle fan cover as it was too large. |
 |
| But if I could cut 3-4mm from each side... this should fit nicely.... |
 |
| ..and here we go using a small saw to mod this dust fan cover... |
 |
| this should be enough to fit |
 |
| not bad and almost straight :D |
 |
| both sides done |
 |
| sand it a little bit with sanding paper to softern the edges |
 |
| and it fit exactly as I needed! |
 |
| Trying to fit the whole radiator with fans in place to see how it looks. |
 |
| next to the PSU.. I did not like the gap between the bracket and the bottom of the case.. |
 |
| so I decided to isolate it with foam insulation.. |
 |
| just cut some of the foam that came with one of the components (I think motherboard) |
 |
| stick it with doublesided tape to the psu bracket |
 |
| and that should do the trick |
 |
| nice! |
 |
| view from another angle |
 |
| and with the psu in place |
 |
| view from the bottom of the case |
 |
| Next I was trying to attack the USB3.0 cables that came with the caselabs case. |
 |
| They were quite sturdy and hard to bend which caused the problem... |
 |
| this was the best I could do with the default cables that came with SM8 using a cable tie to bend them as much as possible without breaking them. |
 |
| Trying to find a good position for the reservoir. This should be about the right spot. |
 |
| Samsung SSD 840 series.. the kit version one.. I was already over my budged and later I decided to ignore this fact completely and order another one with 2x 4TB HDDs :D |